CRM & Clients
Track and nurture your leads and clients through their real estate journey.
Overview
Section titled “Overview”The CRM system helps brokerages and agents:
- Manage client relationships
- Track buyer and seller progress
- Log activities and follow-ups
- Assign clients to agents
- Store client preferences and criteria
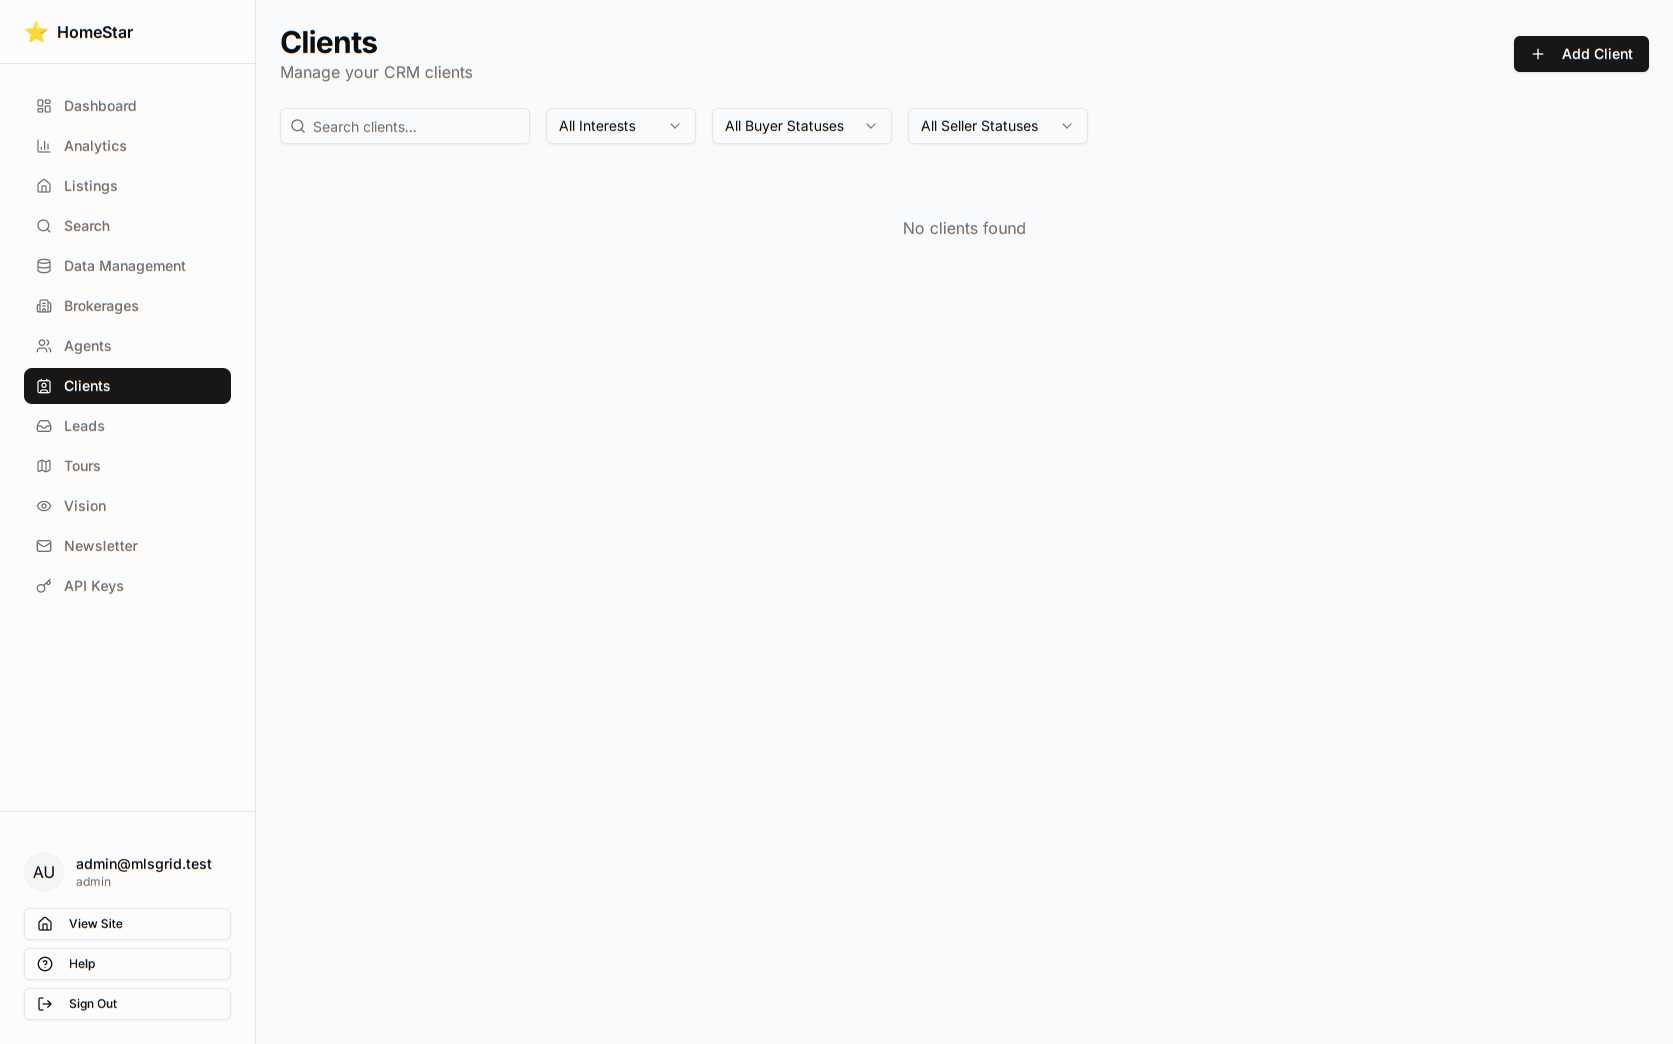
Accessing the CRM
Section titled “Accessing the CRM”Navigate to Admin → Clients to access the CRM dashboard.
Client Types
Section titled “Client Types”Individual (Person)
Section titled “Individual (Person)”A single person or couple looking to buy/sell property.
Entity
Section titled “Entity”A business, trust, or organization (e.g., “Smith Family Trust”, “ABC Investments LLC”).
Interest Types
Section titled “Interest Types”| Type | Description |
|---|---|
| Buyer | Looking to purchase property |
| Seller | Has property to sell |
| Both | Buying and selling |
| Investor | Looking for investment properties |
| Renter | Seeking rental properties |
Client Status Tracking
Section titled “Client Status Tracking”Buyer Statuses
Section titled “Buyer Statuses”| Status | Description |
|---|---|
| Lead | New inquiry, not yet qualified |
| Active | Actively searching for properties |
| Under Contract | Offer accepted, in escrow |
| Closed | Successfully purchased |
| On Hold | Paused their search |
| Lost | Went with another agent/brokerage |
Seller Statuses
Section titled “Seller Statuses”| Status | Description |
|---|---|
| Lead | Considering selling |
| Preparing | Getting property ready to list |
| Listed | Active listing on market |
| Under Contract | Accepted offer, in escrow |
| Closed | Successfully sold |
| Expired | Listing expired without sale |
| Withdrawn | Took property off market |
Managing Clients
Section titled “Managing Clients”Creating a Client
Section titled “Creating a Client”- Click Add Client
- Enter basic information:
- Name / Display name
- Client type (person/entity)
- Interest type (buyer/seller/both)
- Add contacts (email, phone)
- Optionally assign to an agent
Client Profile Fields
Section titled “Client Profile Fields”Buyer Information:
- Budget range (min/max)
- Bedroom/bathroom requirements
- Preferred property types
- Preferred areas/neighborhoods
Seller Information:
- Listing address
- Expected price
- Timeline to sell
Source Tracking:
- How they found you (website, referral, ad, etc.)
- Referral name if applicable
Adding Contacts
Section titled “Adding Contacts”Each client can have multiple contacts:
| Role | Description |
|---|---|
| Primary | Main decision maker |
| Spouse | Partner/spouse |
| Co-buyer | Additional buyer on transaction |
| Attorney | Legal representation |
| CPA | Financial advisor |
| Other | Any other contact |
Each contact includes:
- First name, last name
- Email address
- Phone number
- Mailing address
Activity Tracking
Section titled “Activity Tracking”Log all client interactions to maintain a complete history.
Activity Types
Section titled “Activity Types”| Type | Description |
|---|---|
| Note | General notes or observations |
| Call | Phone conversation |
| Email correspondence | |
| Text | SMS/text message |
| Meeting | In-person or video meeting |
| Showing | Property showing |
| Offer | Offer submitted |
| Contract | Contract-related activity |
| Follow-up | Scheduled follow-up task |
Logging Activities
Section titled “Logging Activities”- Open client profile
- Click Add Activity
- Select activity type
- Add title and description
- Set outcome (if applicable)
- Schedule follow-up (optional)
Agent Assignment
Section titled “Agent Assignment”Assign clients to specific agents:
- Open client profile
- Click Assign Agent
- Select agent from dropdown
- Client appears in agent’s dashboard
Agents can view their assigned clients in My Clients.
Search & Filtering
Section titled “Search & Filtering”Find clients quickly with:
- Search — By name, email, or phone
- Filter by status — Active buyers, pending sellers, etc.
- Filter by agent — View specific agent’s clients
- Filter by source — Website leads, referrals, etc.
- Sort — By name, last contact, created date
Organize clients with custom tags:
- Create tags like “Hot Lead”, “First-Time Buyer”, “Investor”
- Filter clients by tag
- Apply multiple tags per client
API Endpoints
Section titled “API Endpoints”| Action | Method | Endpoint |
|---|---|---|
| List clients | GET | /api/v1/clients |
| Get client | GET | /api/v1/clients/{id} |
| Create client | POST | /api/v1/clients |
| Update client | PUT | /api/v1/clients/{id} |
| Add contact | POST | /api/v1/clients/{id}/contacts |
| Log activity | POST | /api/v1/clients/{id}/activities |
| List activities | GET | /api/v1/clients/{id}/activities |
Best Practices
Section titled “Best Practices”- Log every interaction — Complete history helps handoffs
- Update status promptly — Keeps pipeline accurate
- Set follow-ups — Never let leads go cold
- Use tags — Makes filtering faster
- Add all contacts — Reach the right person
- Track source — Know what marketing works